Proxmox - LVM SSD-Backed Cache
We will be looking at how to setup LVM caching using a fast collection of SSDs in front of a slower, larger HDD backed storage within a standard Proxmox environment. We will also look at the performance benefits of this setup.

Introduction
In this article, we will be looking at how to setup LVM caching using a fast collection of SSDs in front of a slower, larger HDD backed storage within a standard Proxmox environment. We will also look at the performance benefits of this setup.
LVM Volumes
Using this forum post, I was able to create the LVM caching layer using the default LVM volumes created from a Proxmox installation.
The following are the steps required to add the LVM cache to the data volume:
pvcreate /dev/sdb
vgextend pve /dev/sdb

lvcreate -L 360G -n CacheDataLV pve /dev/sdb
lvcreate -L 5G -n CacheMetaLV pve /dev/sdb

lvconvert --type cache-pool --poolmetadata pve/CacheMetaLV pve/CacheDataLV

lvconvert --type cache --cachepool pve/CacheDataLV --cachemode writeback pve/data
/dev/sdb is the block device which contains the SSD cache. Two volumes are created on the block device, one for the data and one for the metadata. Additionally, we use the writeback cache mode which will offer better performance. But if the cache device fails, data may be lost as it is not guaranteed that the dirty data has been written back to the main data storage. We then modify the default Proxmox pve/data volume to use our new cache volume.
One piece of information to be aware of is that the size of the pve/data volume is not extended. The SSDs are merely used as a read and write cache for the media behind it.
Update for Proxmox 6: It is necessary to add the following modules to the initramfs. See Proxmox6 LVM SSD Cache for more information.
echo "dm_cache" >> /etc/initramfs-tools/modules
echo "dm_cache_mq" >> /etc/initramfs-tools/modules
echo "dm_persistent_data" >> /etc/initramfs-tools/modules
echo "dm_bufio" >> /etc/initramfs-tools/modules

update-initramfs -u
Performance Benefits
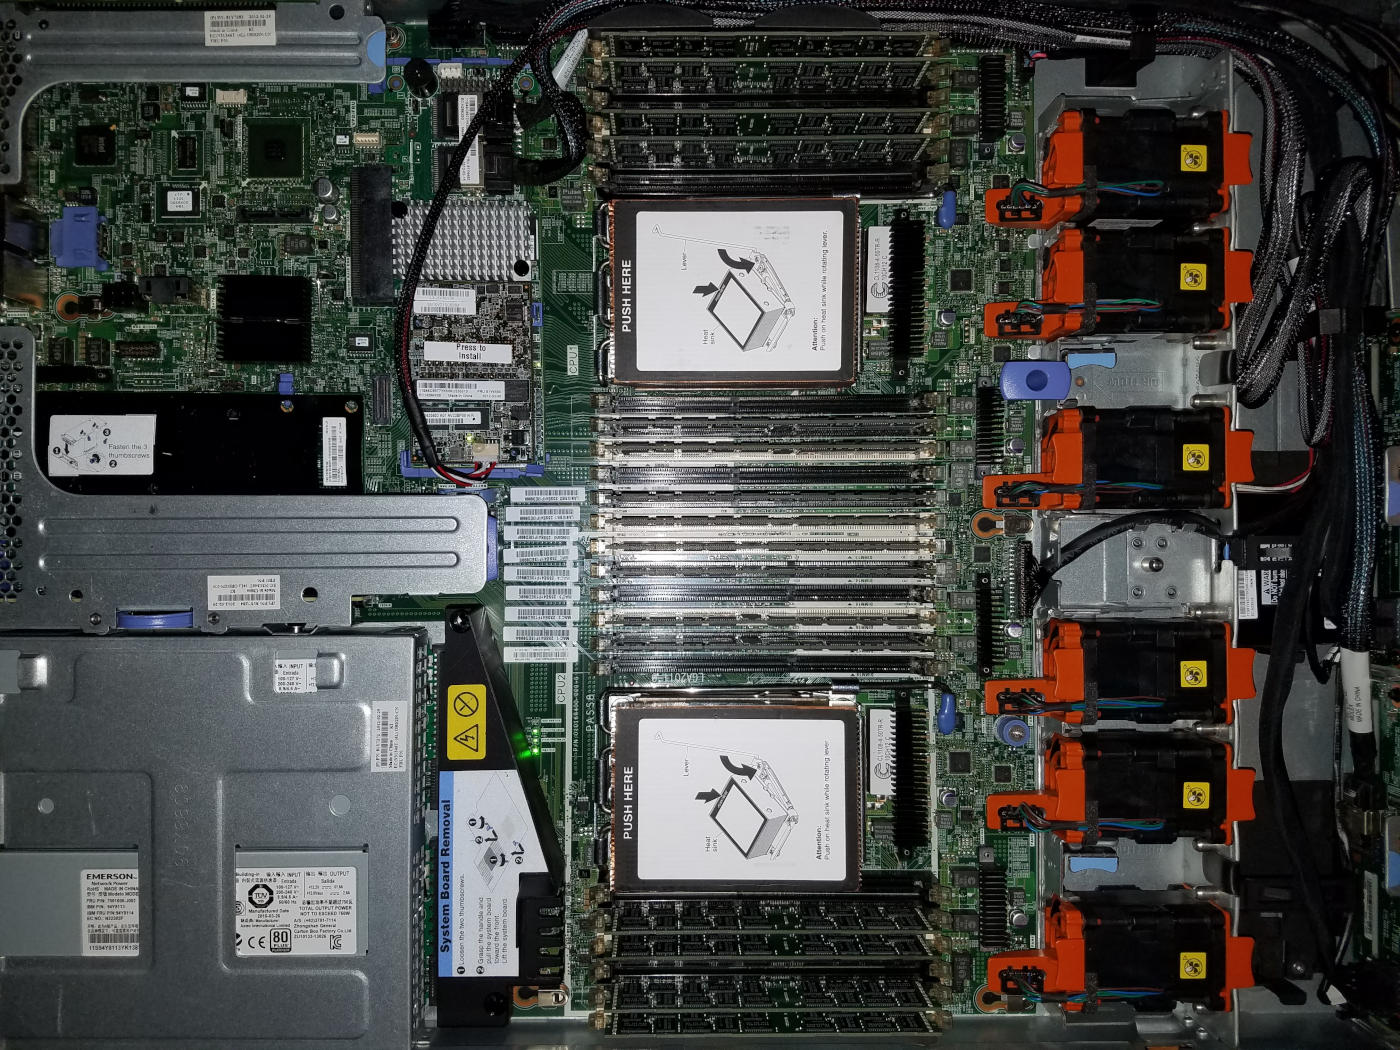
To see first hand the benefits of the LVM cache, we will be using the FIO utility to gather metrics for IOPS and bandwidth. I ran FIO using the Ubuntu 18.04 LXC container before and after using the following hardware:

- IBM X3550 M4
- 2 x Intel Xeon E5-2680
- 128GB Memory
- ServeRAID M5110 (1GB Memory Cache)
- 4 x IBM SystemX 300GB 10k SAS HDDs (RAID 10)
- 4 x HGST Ultrastar SSD400S.B 200GB SAS SSDs (RAID 10)
Testing Methodology
The following is the FIO profile used.
[global]
rw=<MODE>
ioengine=libaio
iodepth=64
size=2g
direct=1
buffered=0
startdelay=5
ramp_time=5
runtime=20
time_based
clat_percentiles=0
disable_lat=1
disable_clat=1
disable_slat=1
filename=fiofile
directory=/

[test]
name=test
bs=32k
stonewall
This profile is time based and is using a constant IO depth of 64, a blocksize of 32k, and Direct IO option across all runs. A file size of 2GB is used to minimize the caching effects of the RAID card on the performance results.
Results
| Configuration | Random Read | Random Write | Sequential Read | Sequential Write |
|---|---|---|---|---|
| HDD | IOPS=3289 BW=103MiB/s | IOPS=1025 BW=32.1MiB/s | IOPS=12.5k BW=390MiB/s | IOPS=7387 BW=231MiB/s |
| HDD+SSD | IOPS=43.3k BW=1353MiB/s | IOPS=28.4k BW=887MiB/s | IOPS=50.4k BW=1575MiB/s | IOPS=29.7k BW=929MiB/s |
As can be seen above, the performance differences are massive for both IOPS and available bandwidth of the underlying storage layer. Random read and write performance is increased by over 20 times and sequential read and write is increased by nearly 4 times compared with the traditional HDD setup.
Conclusion
Setting up a LVM cache for your Proxmox nodes produces astonishing results for localized storage performance. This can be done very easily on an established live system with zero down time. If you have the available hardware, and you are using the default LVM volumes, I would recommend trying out this configuration. You will not be disappointed!
