Remote VPN Server with pfSense and a Dynamic IP Address
How to configure a pfSense router for remote access using OpenVPN. These instructions will target residents who have a dynamic IP address.

Our goal in this post is to setup a secure home VPN server which we can use to connect our phone or laptops remotely. This will allow us access to all of our home networked resources such as printers and security cameras. We will look at how to configure a pfSense router for remote access using OpenVPN. These instructions will target residents who have a dynamic IP address which may change without notice.

In order to properly configure a VPN server, we will need to establish a DNS record which will track our IP address. Luckily, there are free services we can use to register with our pfSense router in order to do exactly this.
Dynamic DNS
The Dynamic DNS (DDNS) pfSense service allows us to create a configuration such that when our IP address changes, our DNS entry will be updated accordingly.
There are many DDNS services which allow you to register a free subdomain to track your IP address. For my setup, I use freemyip.com which allows registration of a DNS entry, and a convenient method for updating it when it changes.
After you register your unique subdomain, you will be given an update URL with which to call when your IP address changes. We can do this automatically within pfSense.
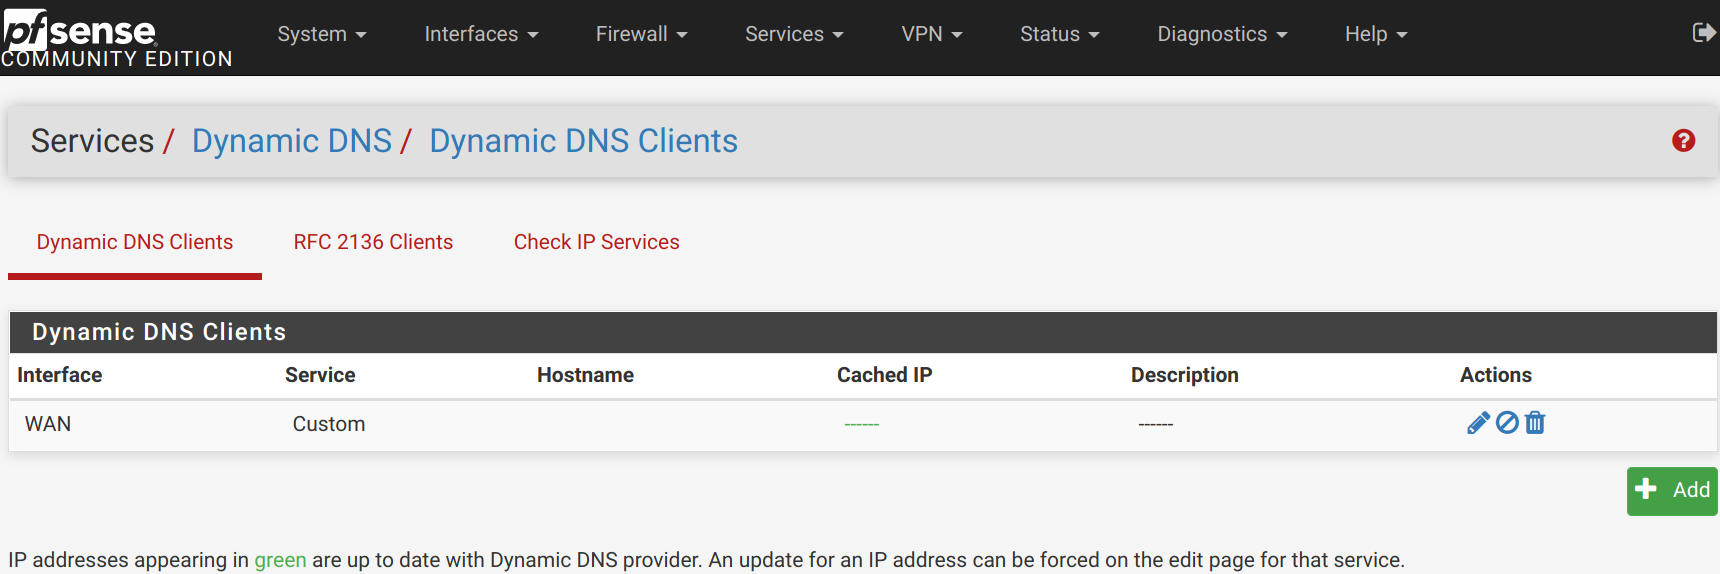
Go to the Dynamic DNS service within pfSense and click Add to start the process of creating a new DDNS client.
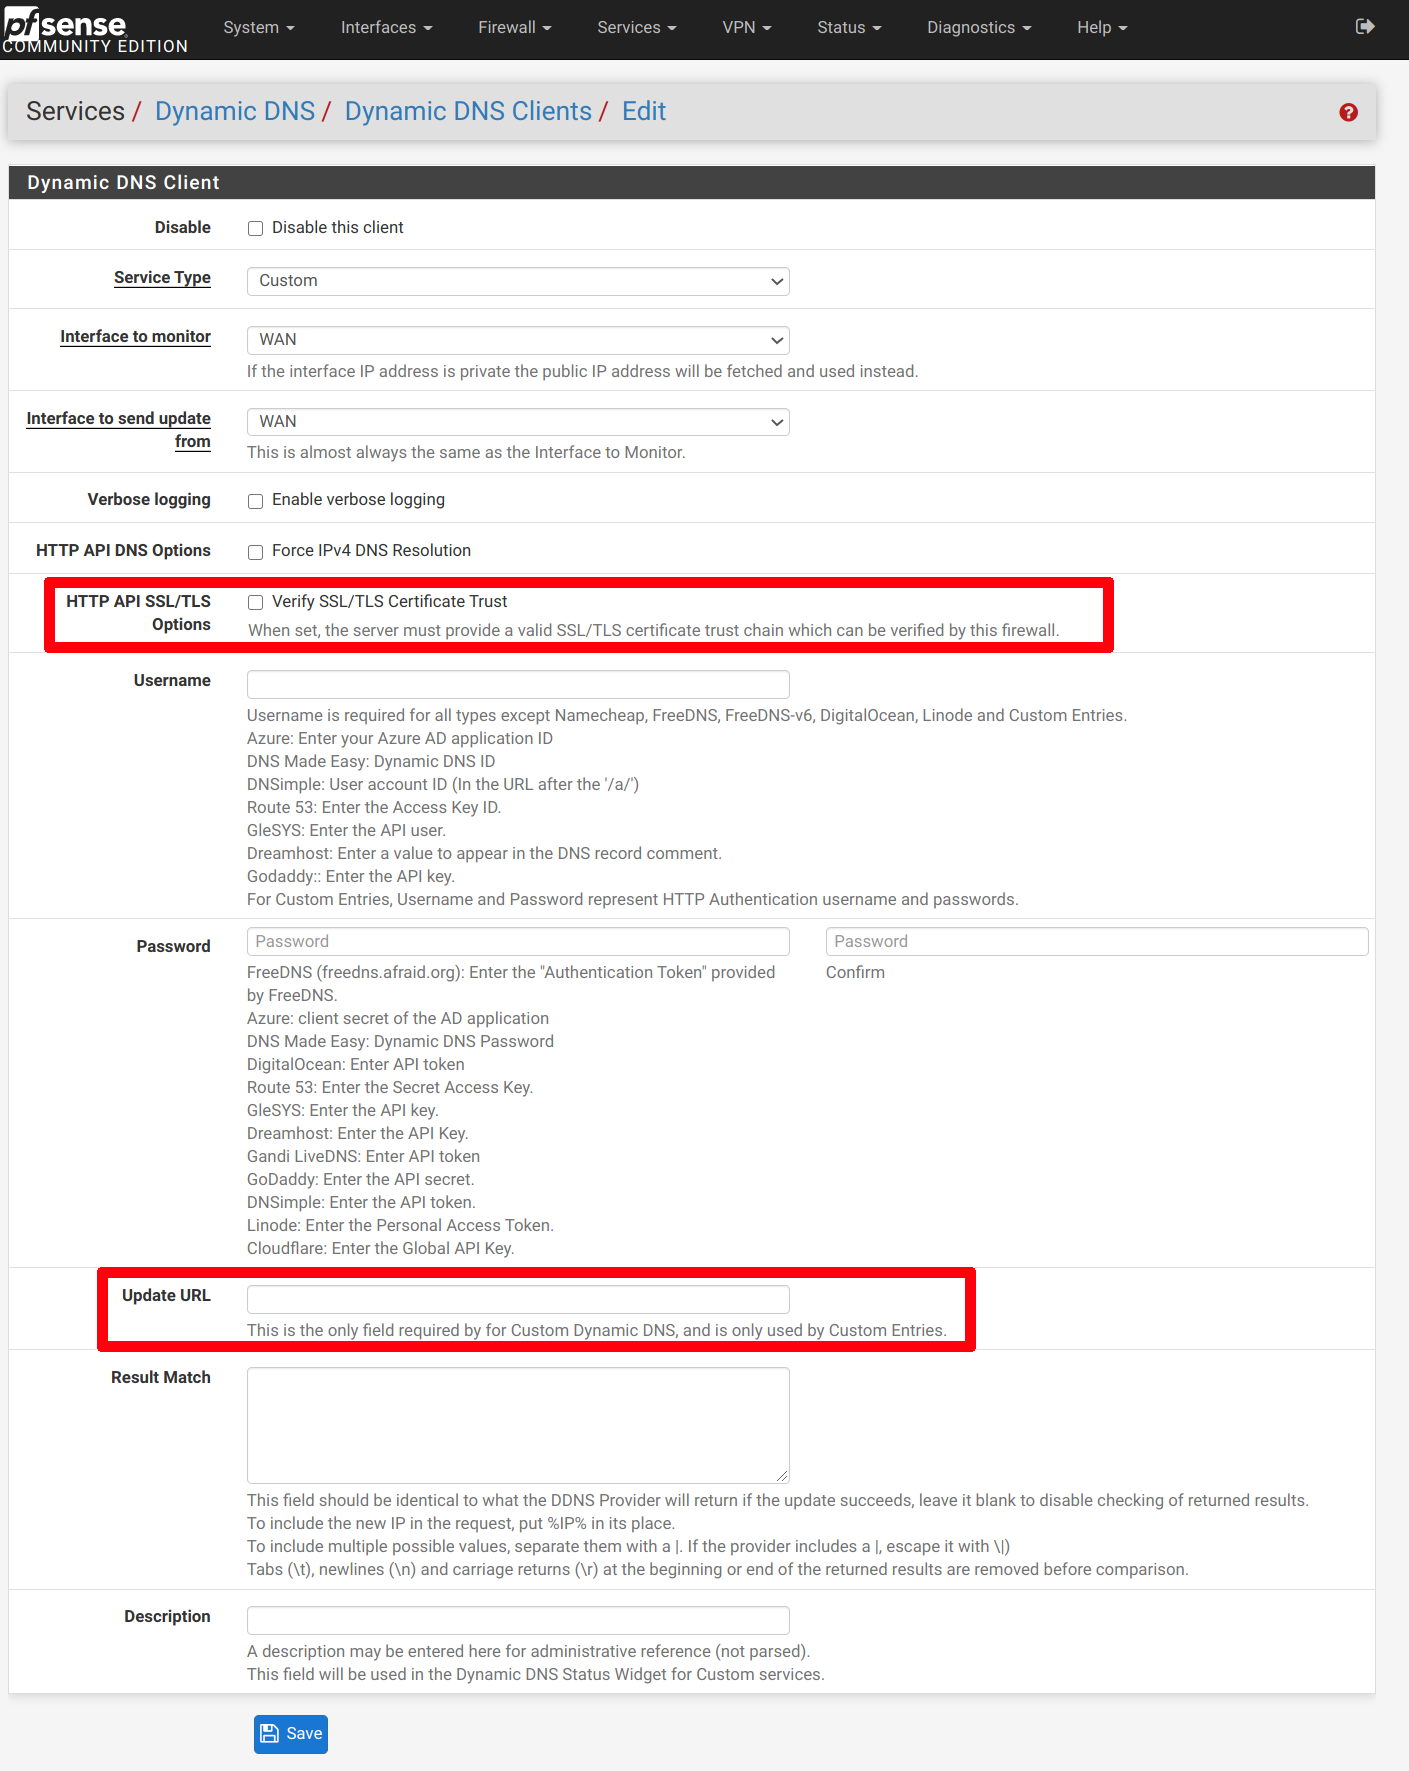
The setup is very easy. Simply paste the update URL into the form, and make sure that the Verify SSL/TLS Certificate Trust is selected as well.
OpenVPN Server
After establishing our DDNS client, we can now begin setting up the remote VPN Server configuration.
The easiest method of doing so is going through the OpenVPN Remote Access Server Wizard. The official Netgate documentation has a very comprehensive example which goes through all the options for the wizard. It is recommended to follow this in order to create a Certificate Authority, a corresponding Server Certificate, and to configure the OpenVPN Server itself.
For my setup and the rest of this guide, I am using local users as the authentication type instead of any remote authentication available.
Creating OpenVPN Clients
Once an OpenVPN server configuration is created, we can now create local users which will represent our clients to connect remotely.
It is recommended to have one user per device. For example, if you have a laptop and phone which you would like to connect, you should create a user for each and not share. This allows us to easily revoke the users client certificate in case the device is lost or compromised.
You can create a new user by going to System -> User Manager.
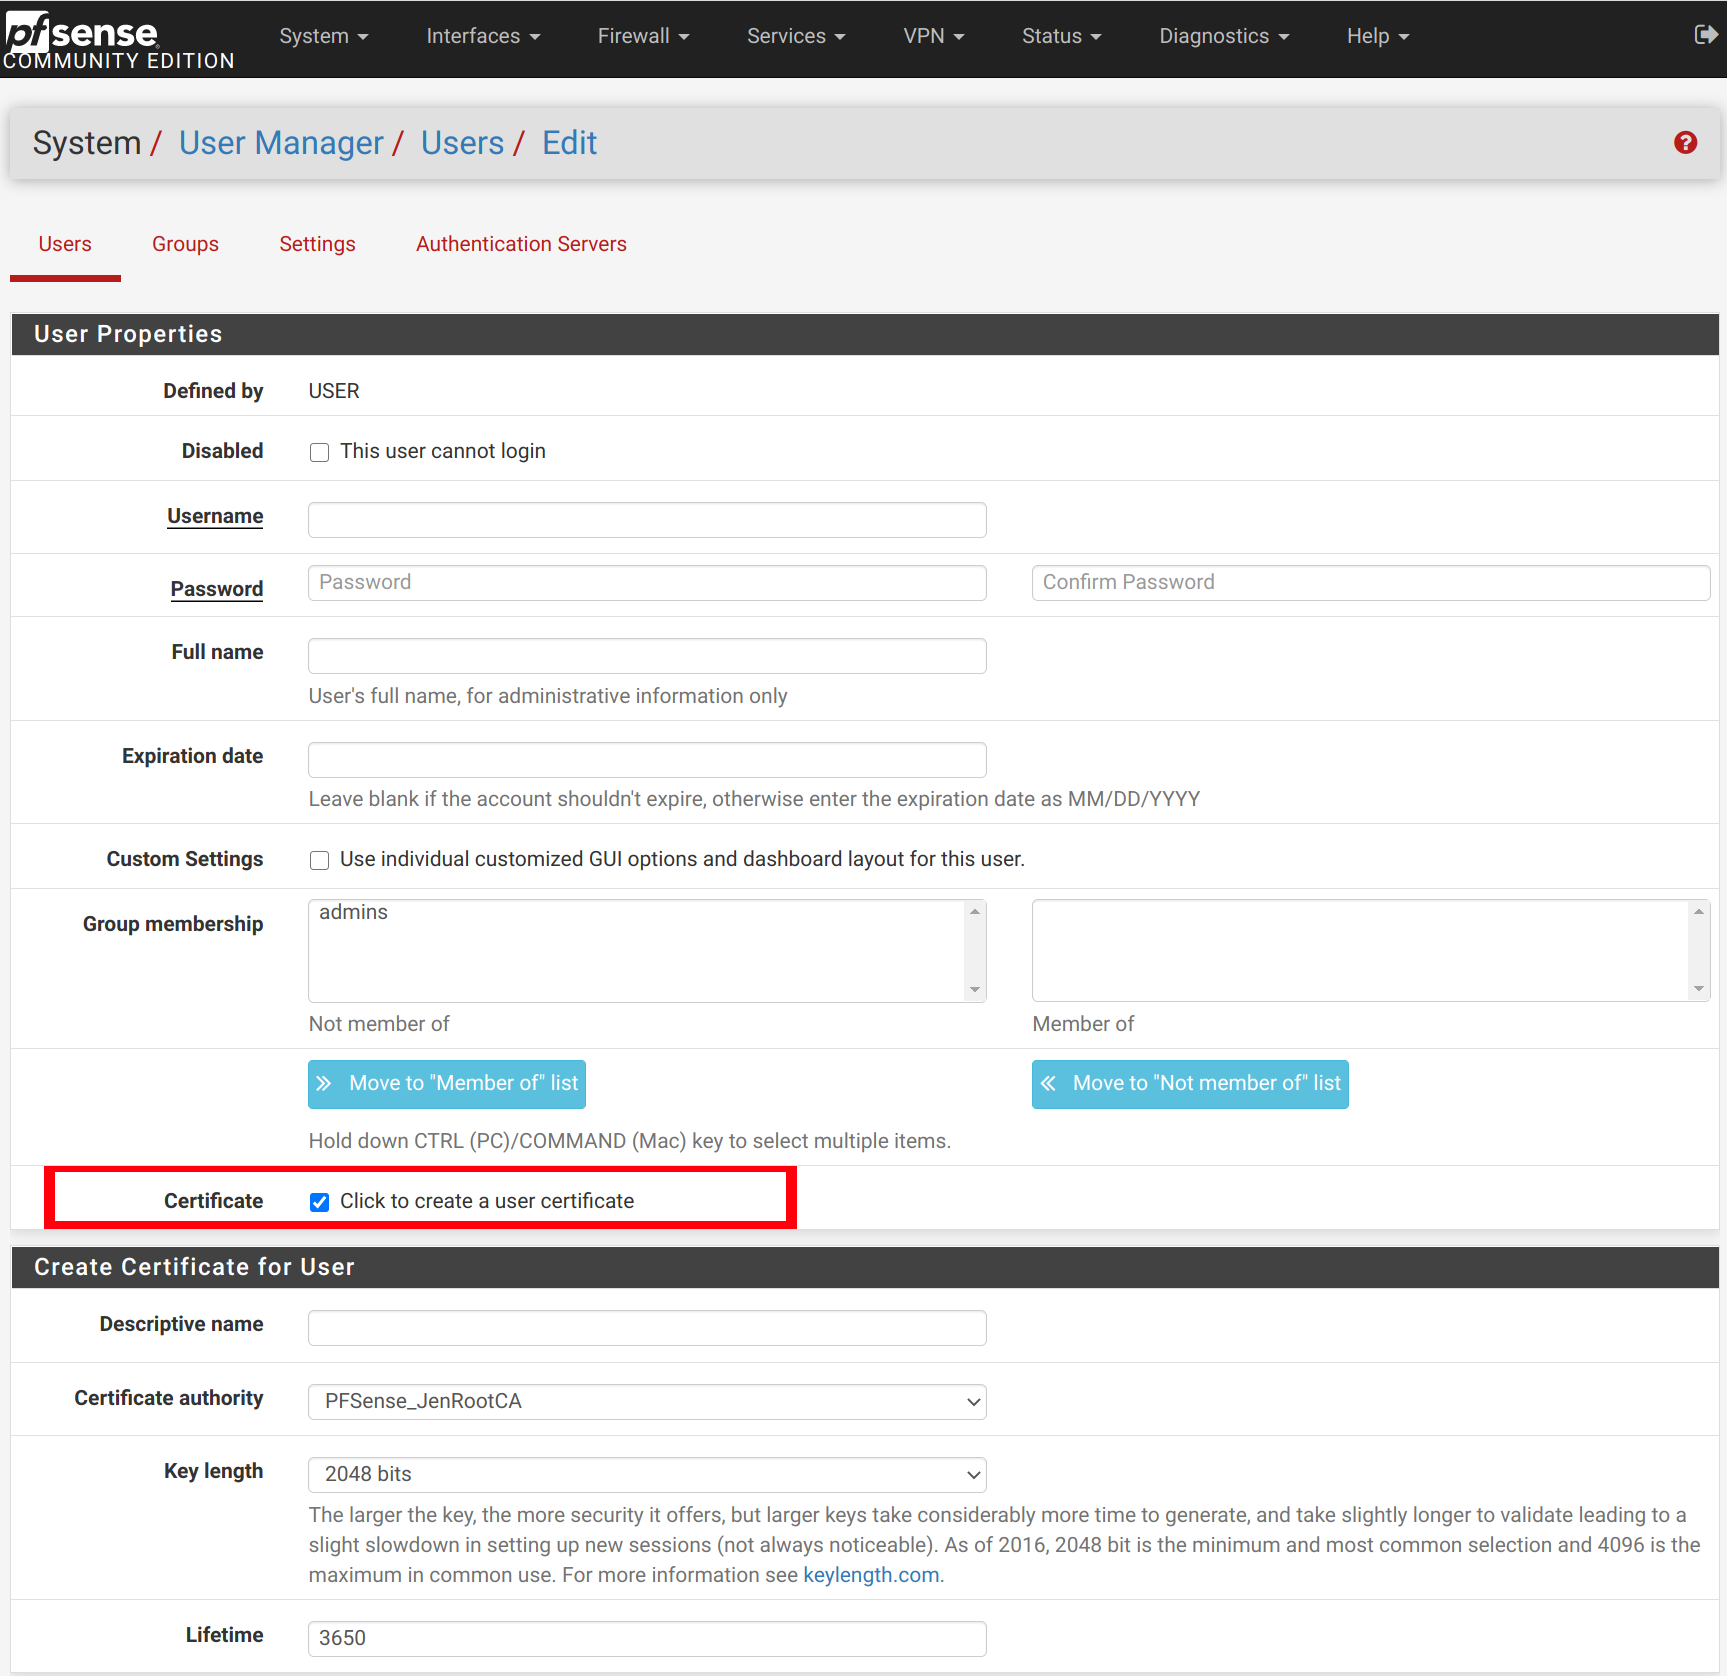
You can go ahead and create a new OpenVPN client certificate by clicking the checkbox and selecting your Certificate authority you referenced in the OpenVPN setup wizard above.
Export OpenVPN Configurations
Once we have our users created, we can export any OpenVPN configuration using the OpenVPN Client Export Package available through the Package Manager in pfSense.
Once the package is installed, the export can be accessed by clicking the Client Export tab within the OpenVPN service page.
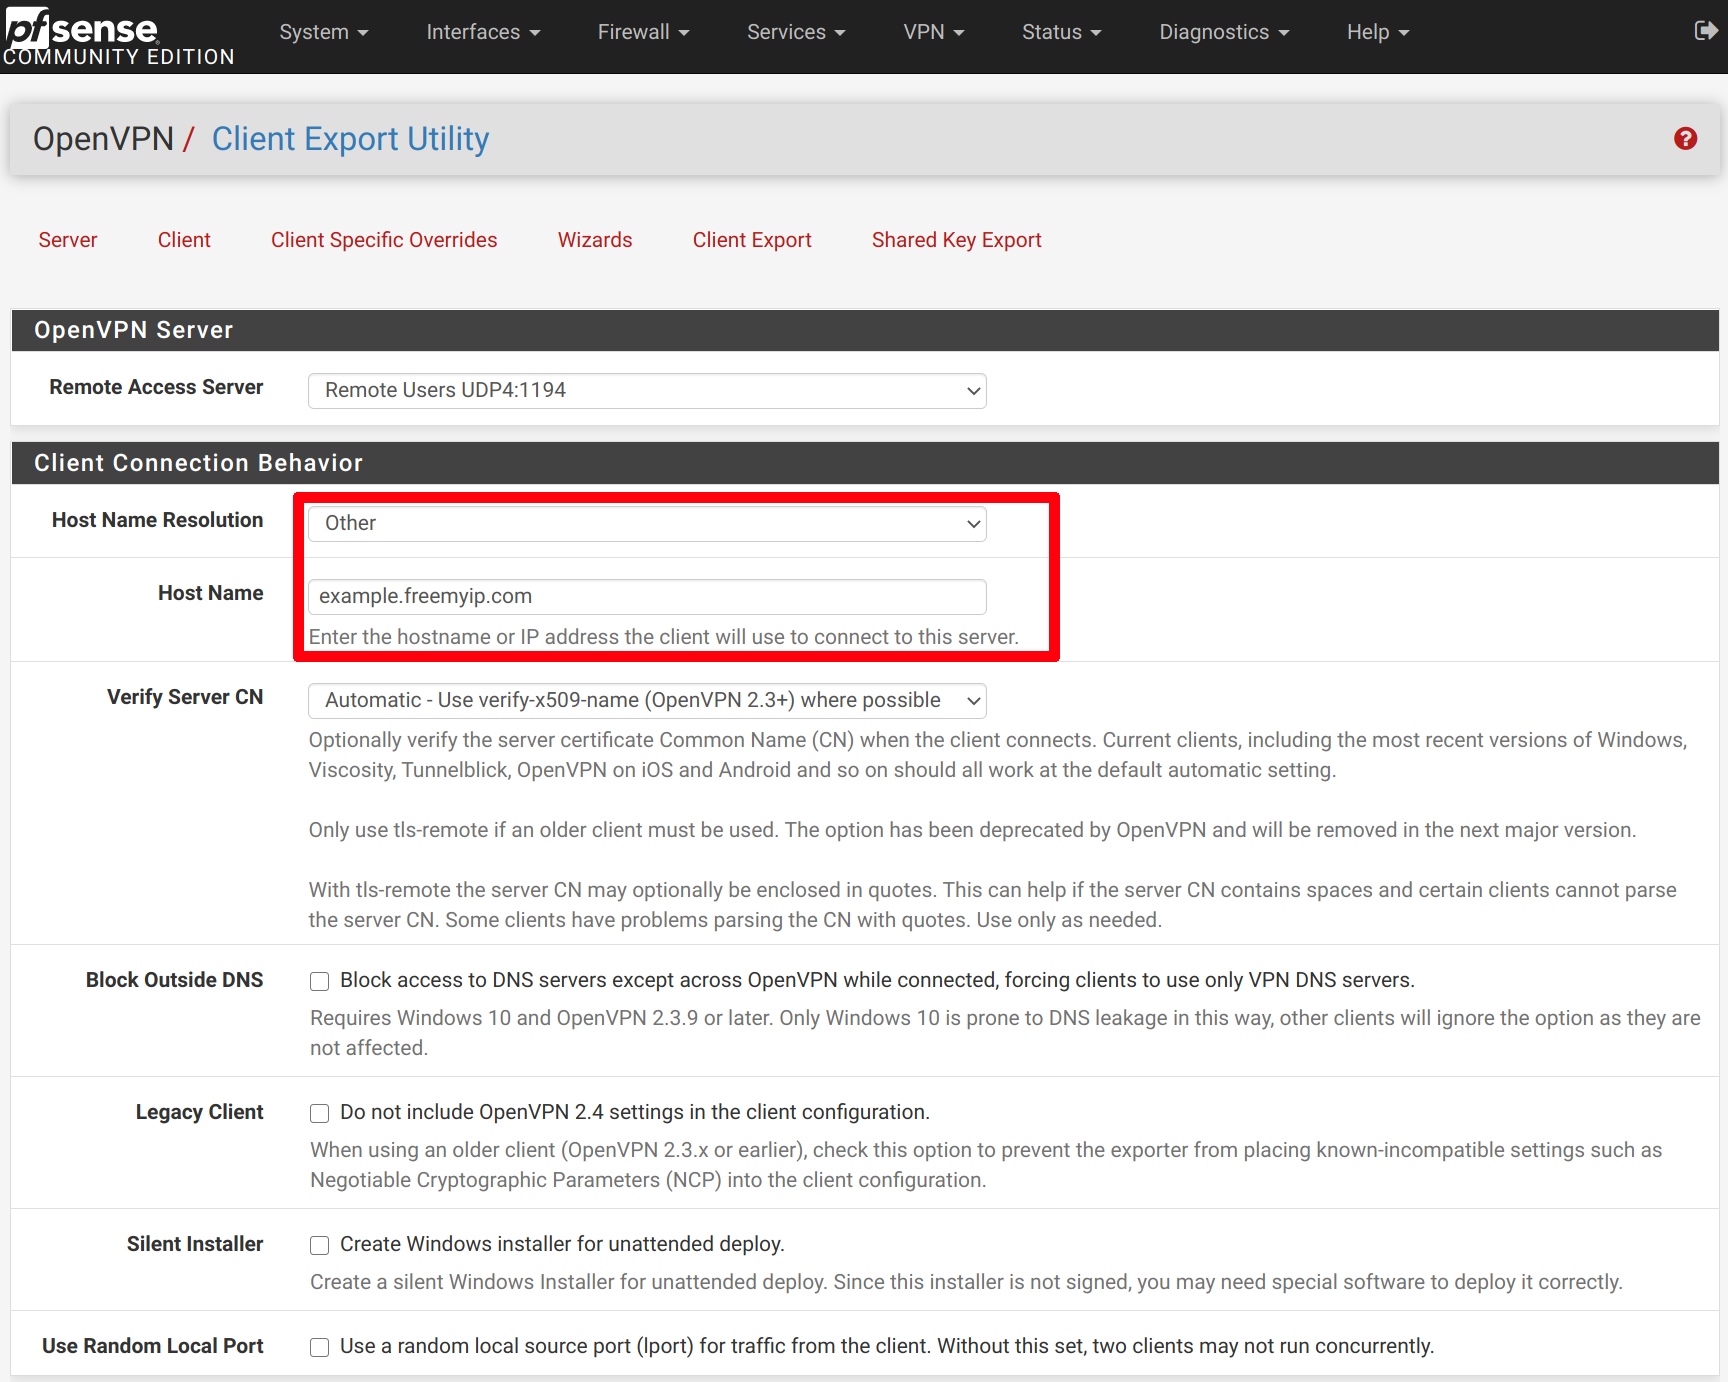
Make sure to input your DNS entry in the Host Name input, after selecting Other as the Host Name Resolution option. You will need to do this each time you are exporting a new configuration file.
Scrolling below, you may select a configuration file type to export depending on your needs.
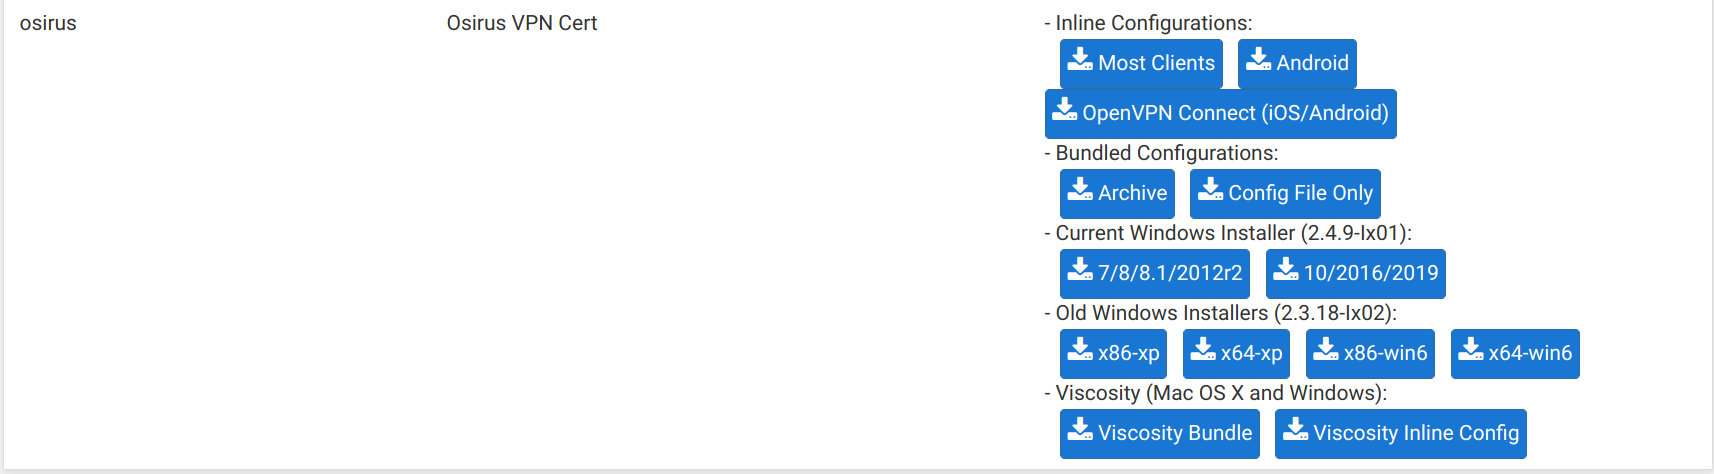
If you use NetworkManager, the Networkmanager-openvpn plugin works rather well to import a configuration file directly. There exists apps for Android and iOS as well.